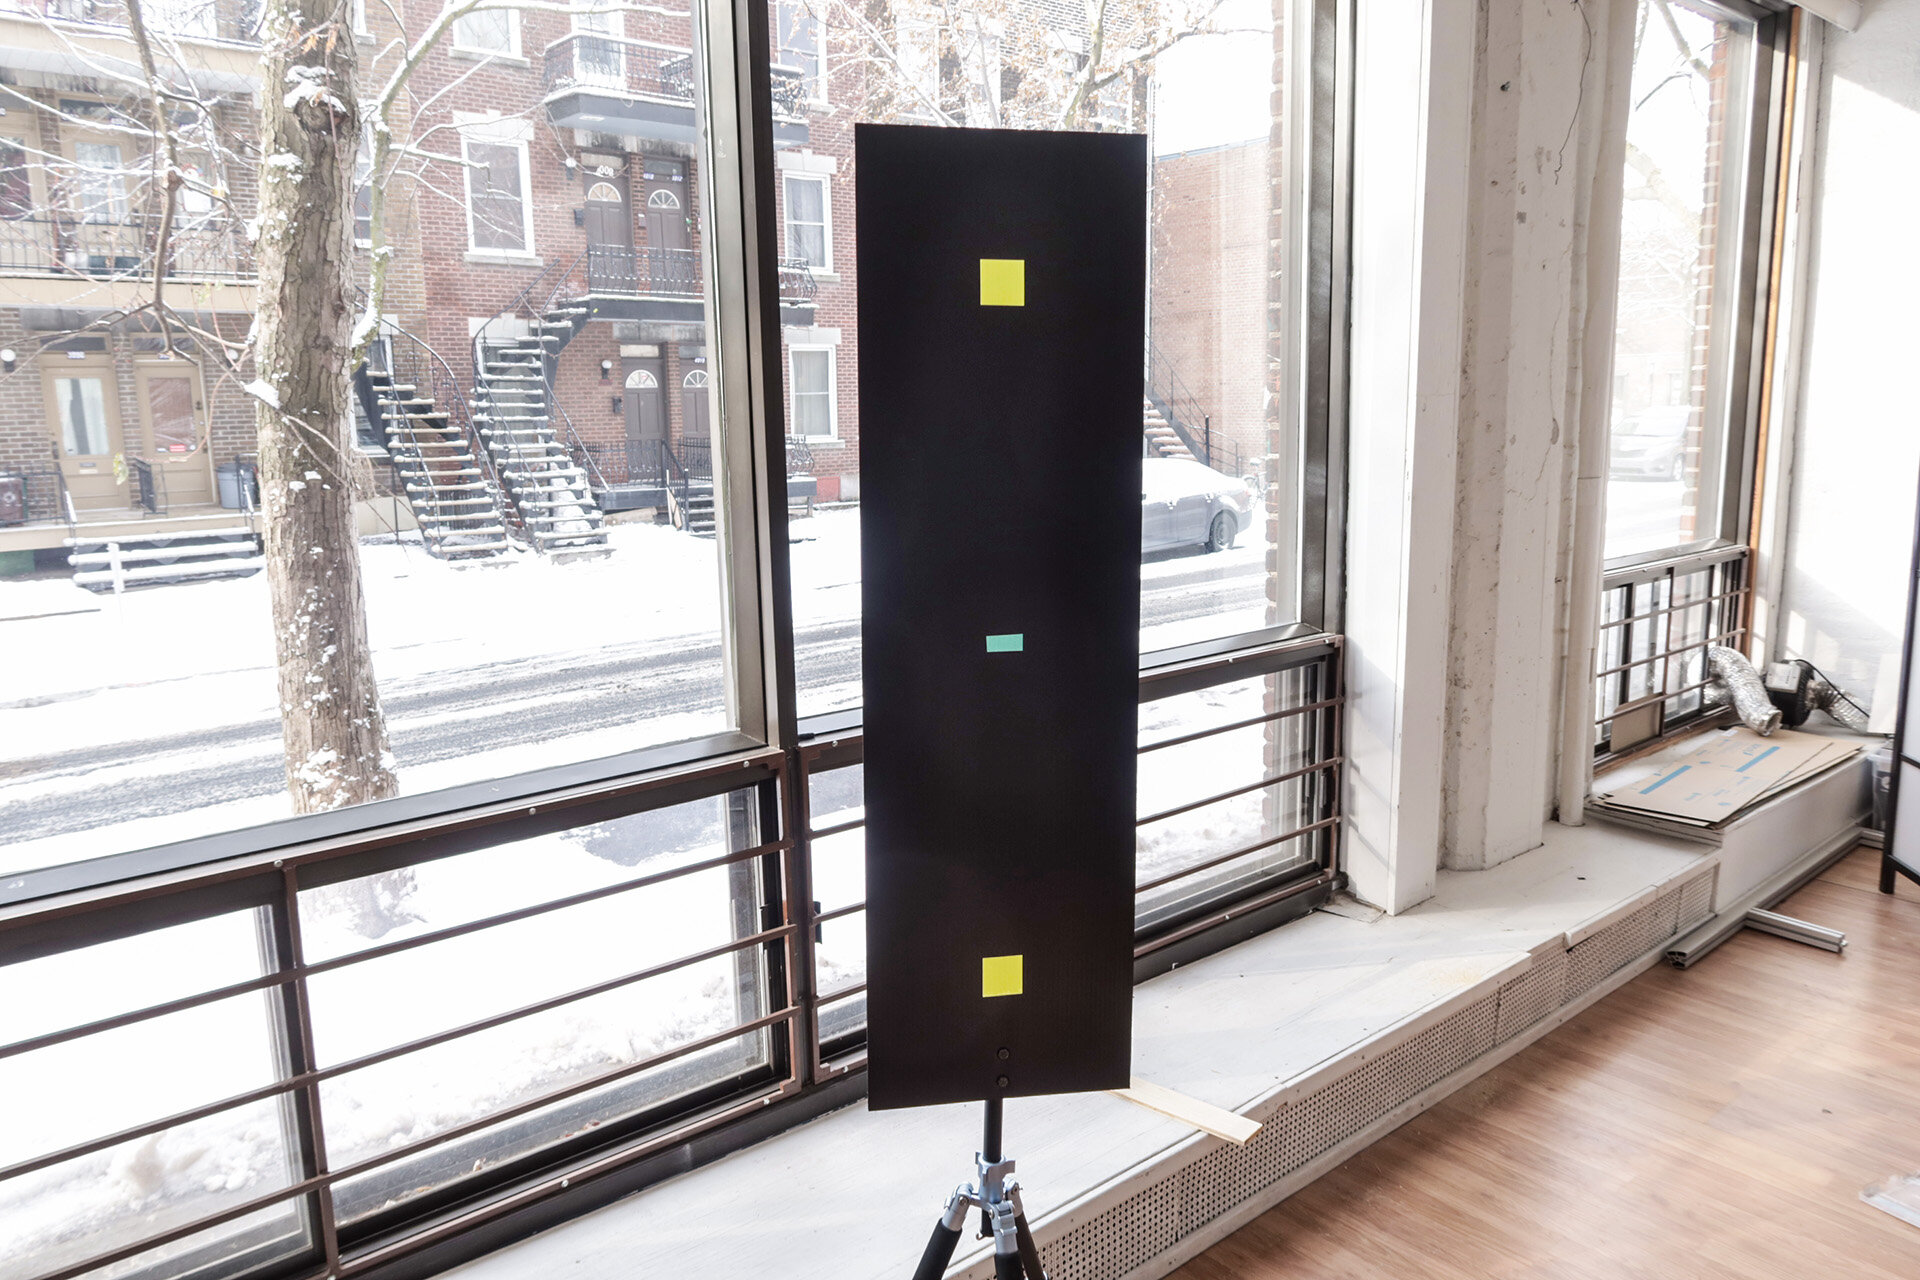
DIY Bullet-time calibration panel close-up
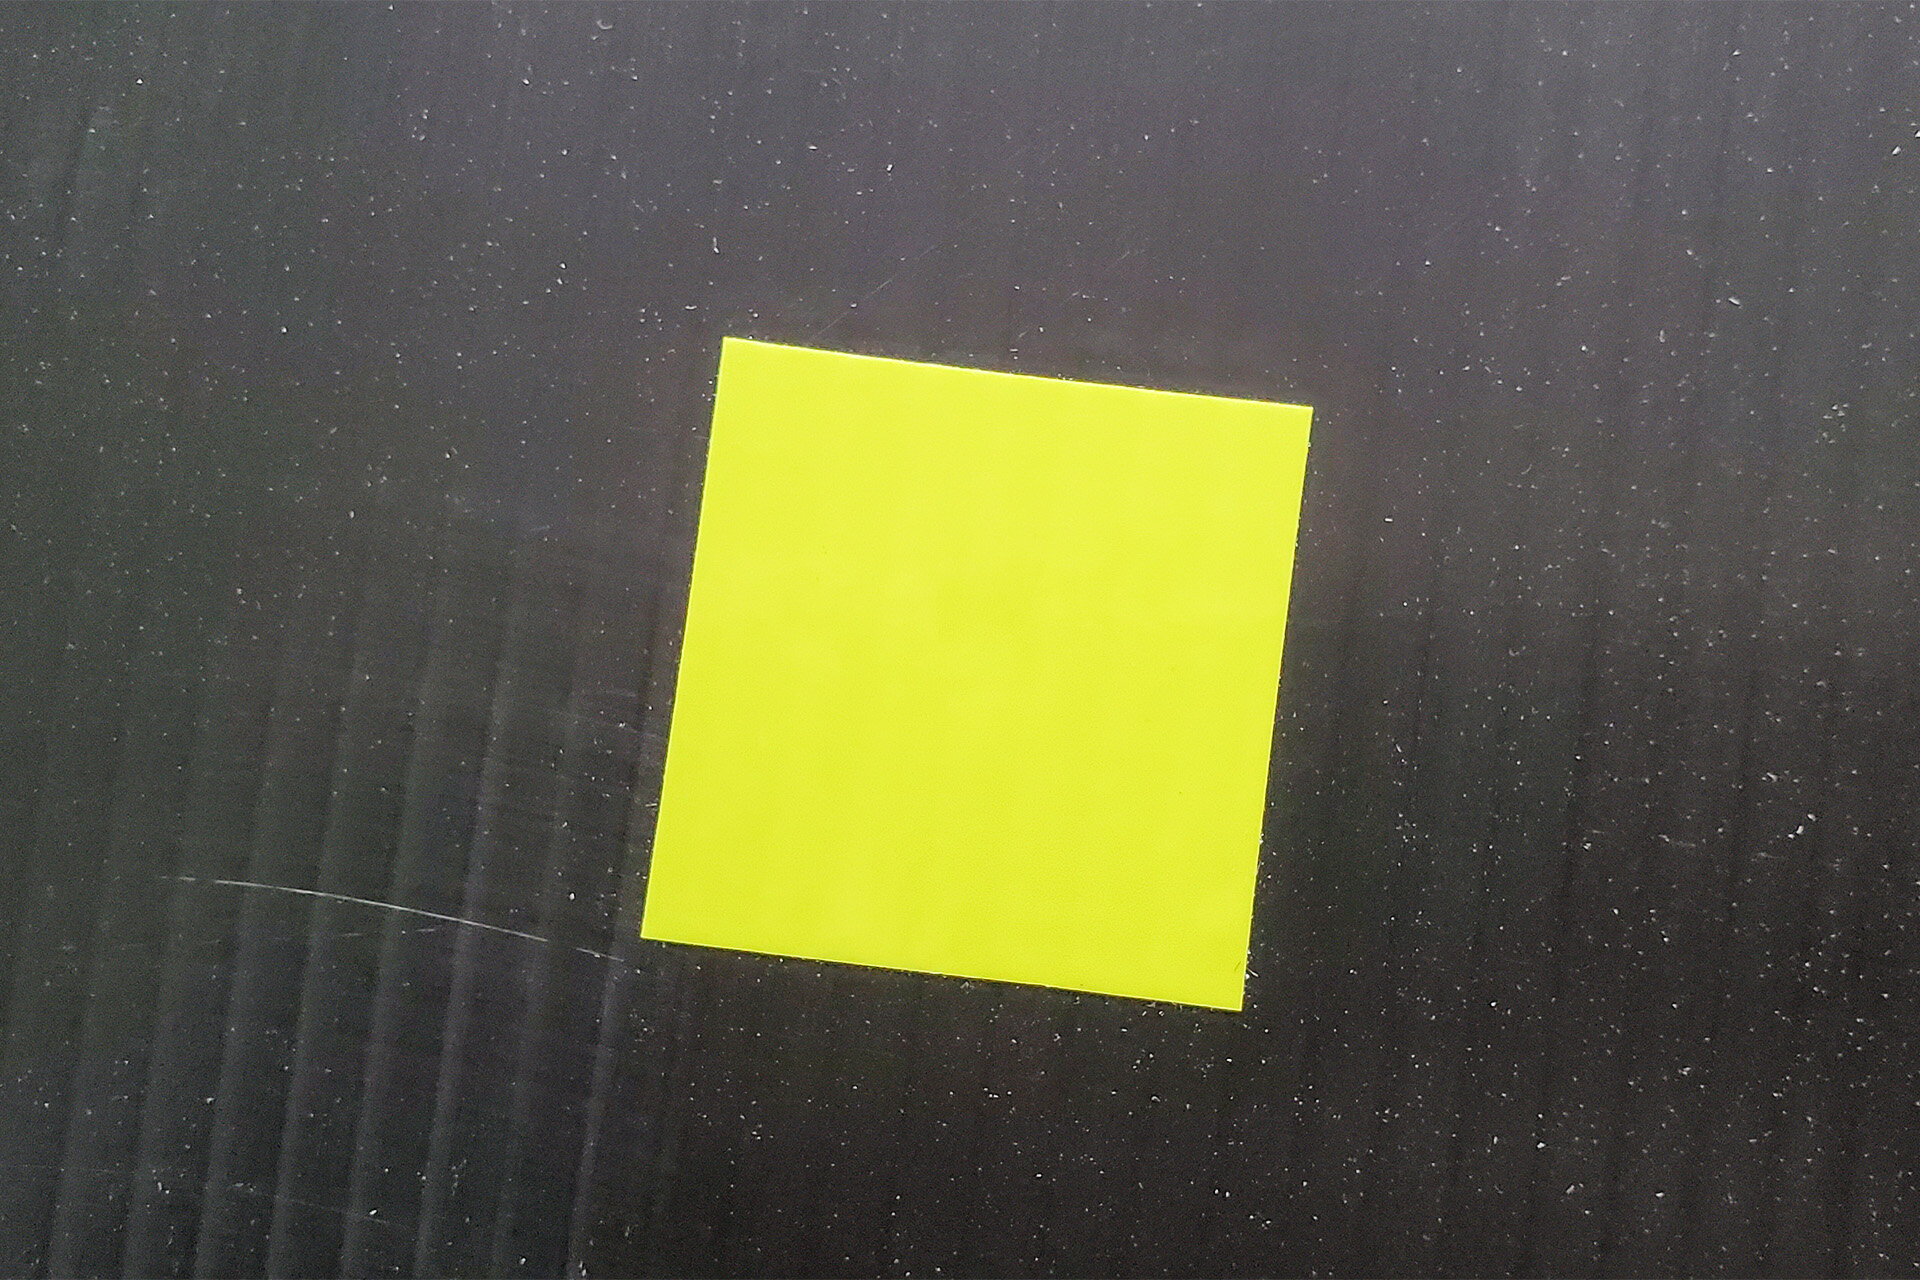
This is what I'm using these days to calibrate my 12-cameras kit. It's super easy to make and to setup. You only need black cardboard, yellow tape and blue tape to make this work
Make sure that you have enough black space around your black markers
Use a very different color for your center marker (blue in my case!)
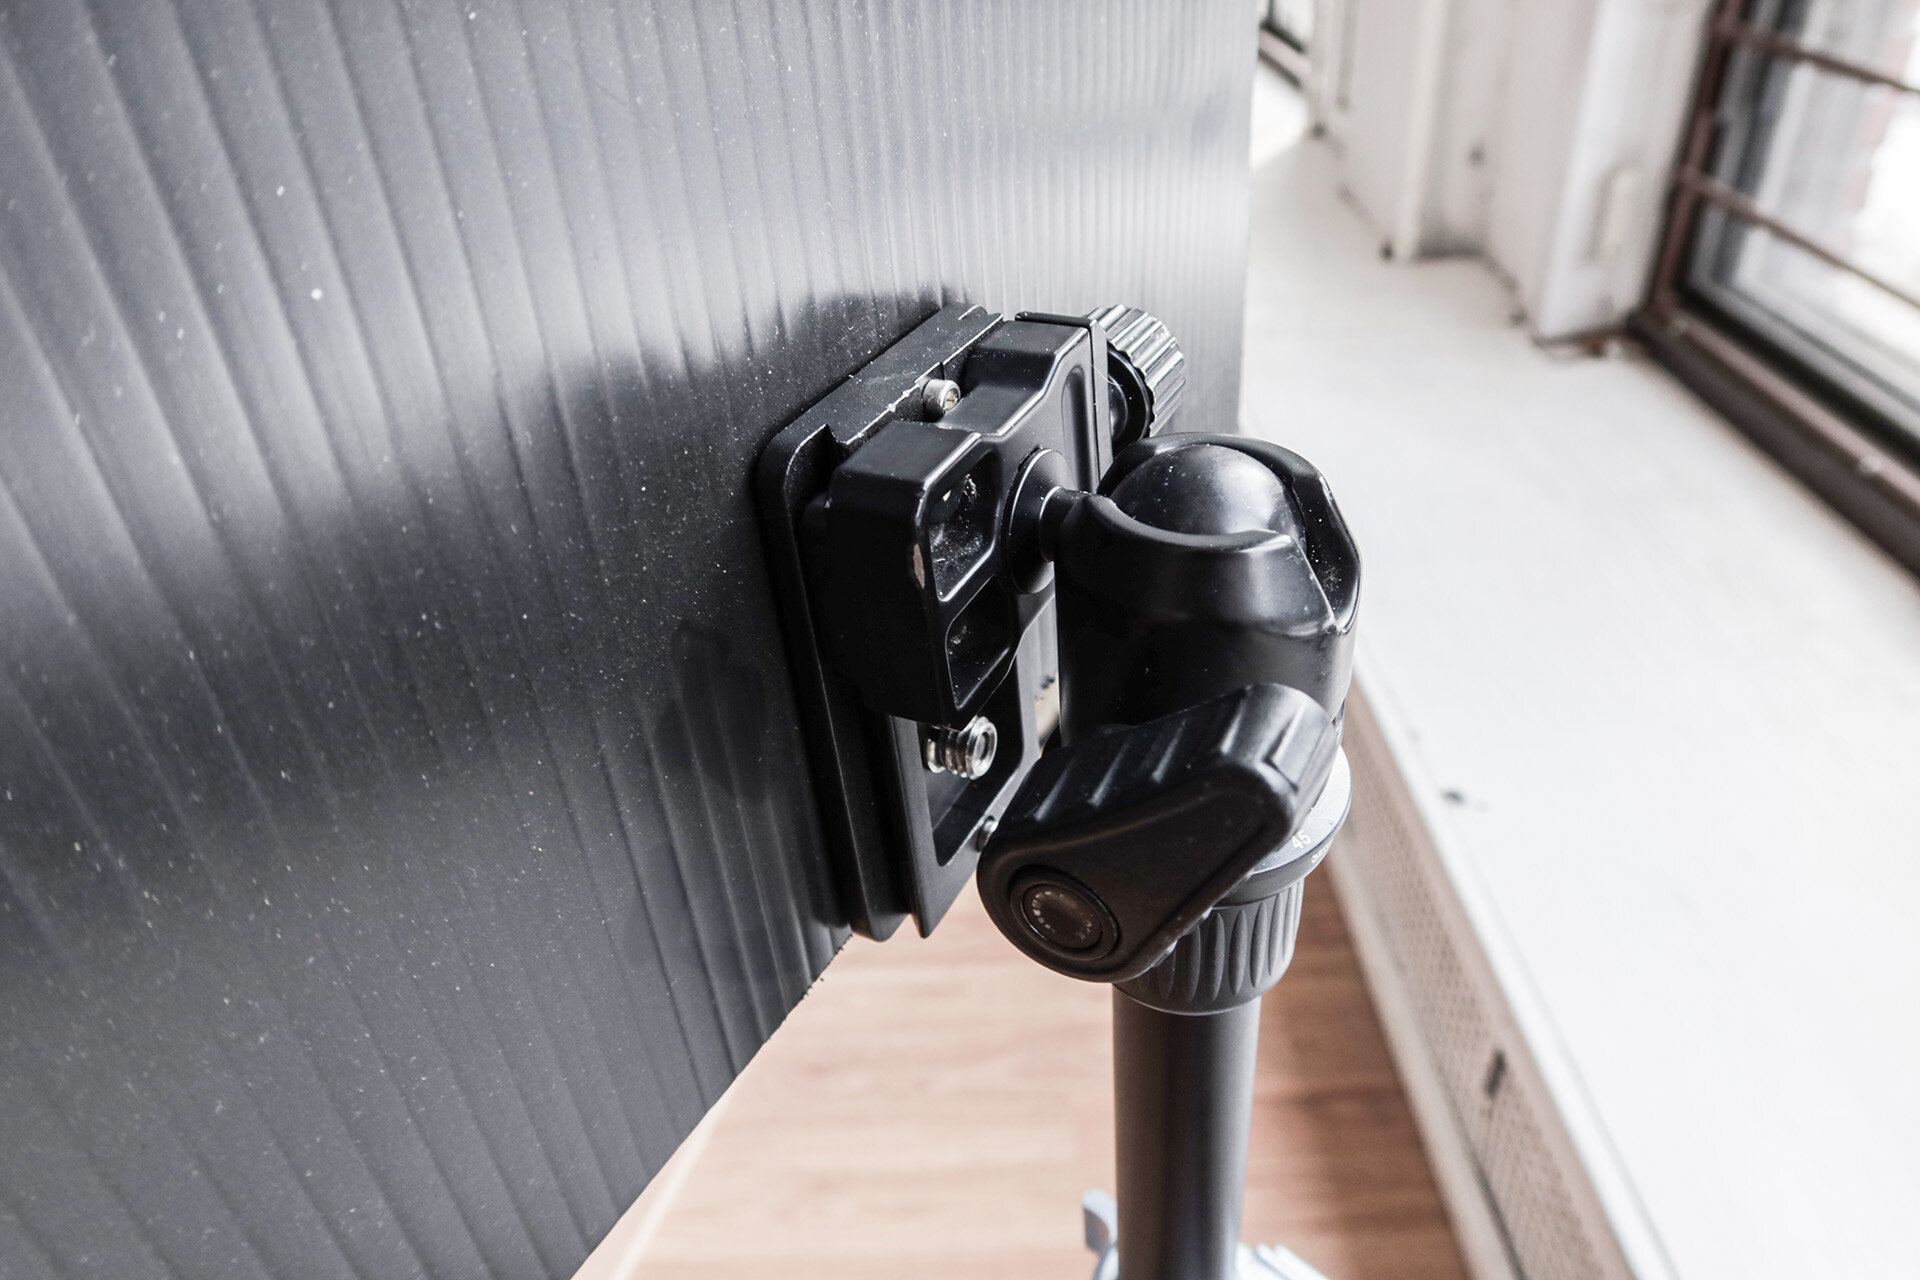
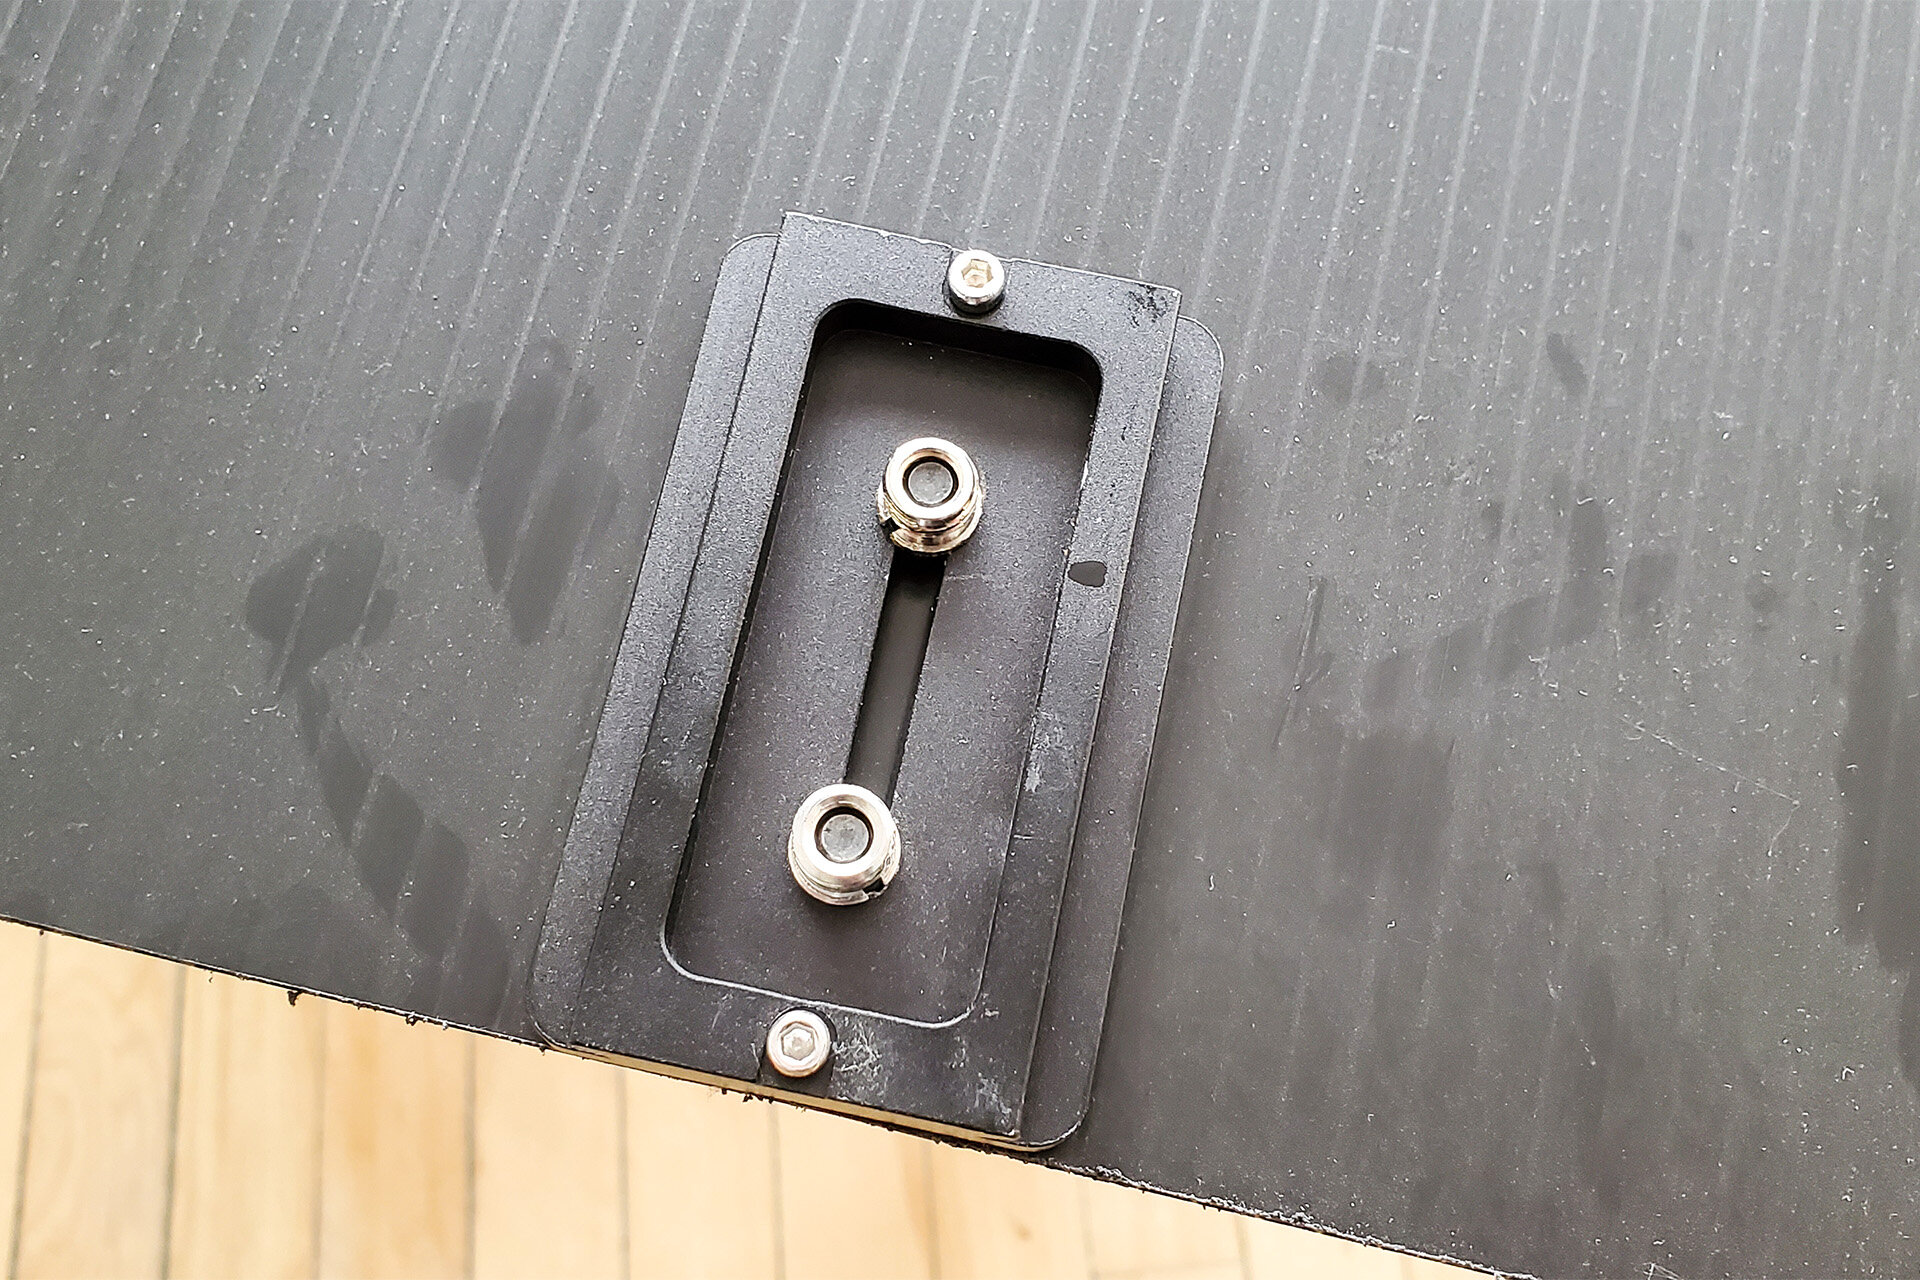
The Arca swiss plate at the bottom is a large one with 2x 3/8” screws in it (see https://amzn.to/2rXomCl)
Ideally, you want your markers to be as close as possible to the edges of your framing (for super accurate calibration), especially if you are shooting at large resolution for films or commercials. For live events, it doesn’t matter that much, and you can use a smaller panel, or our beautiful calibration t-shirt ;)
Dimensions of this panel / markers
Panel: 1x3’
Markers: 2x2”
Full tutorial about the digital calibration can be found here: https://doc.xanglecs.com/calibration