Gaussian splat automated photobooth: using presets
May 12, 2026
Massive thank you to Snapp Booth & Nikki for providing these examples (12 cameras). Please follow their work at
- FB: https://www.facebook.com/NikkiNikkiCambodia
- IG: https://www.instagram.com/nikkinikkimusic/
- TikTok: https://www.tiktok.com/@nikkinikkicambodia
- Snapp Media FB: https://www.facebook.com/snapp.media5
- Snapp Media IG: https://www.instagram.com/snapp.media/
- Snapp Booths FB:https://www.facebook.com/SnappBoothKH
- Snapp Booths IG: https://www.instagram.com/snappbooths.kh/
You'll find on this page a bunch of examples generated via Xangle Camera Server / Xangle Orbit. These can all be automated from the capture to the final sharing mp4 files

Jpg-calibrated (3 seconds processing time)
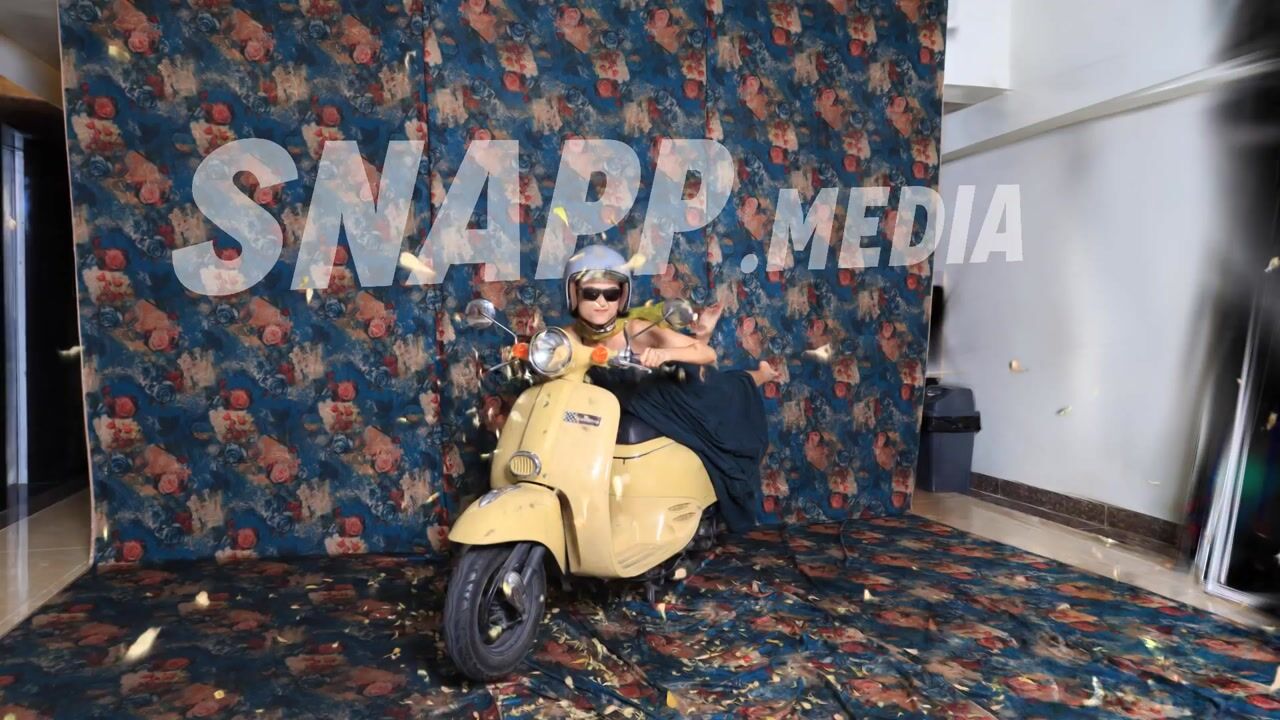
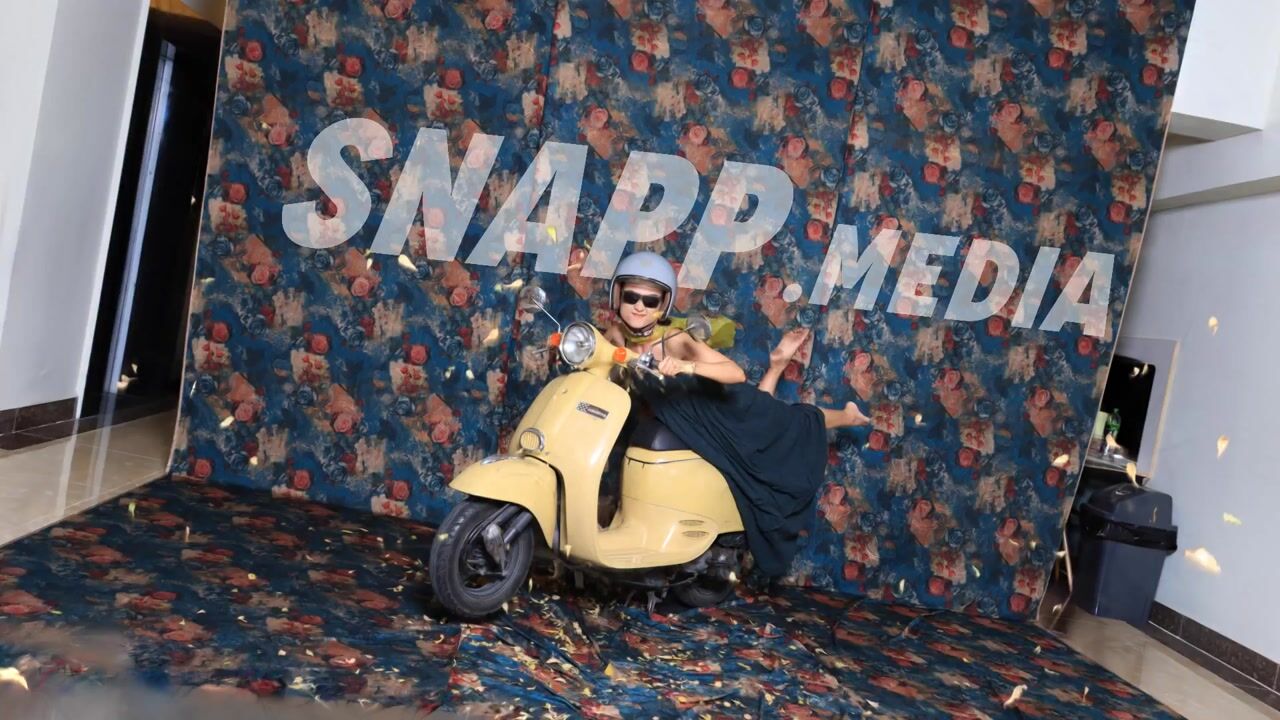
01- Bounce+zoom

02- Bounce
Trios of keyframes
03- Triple recoil
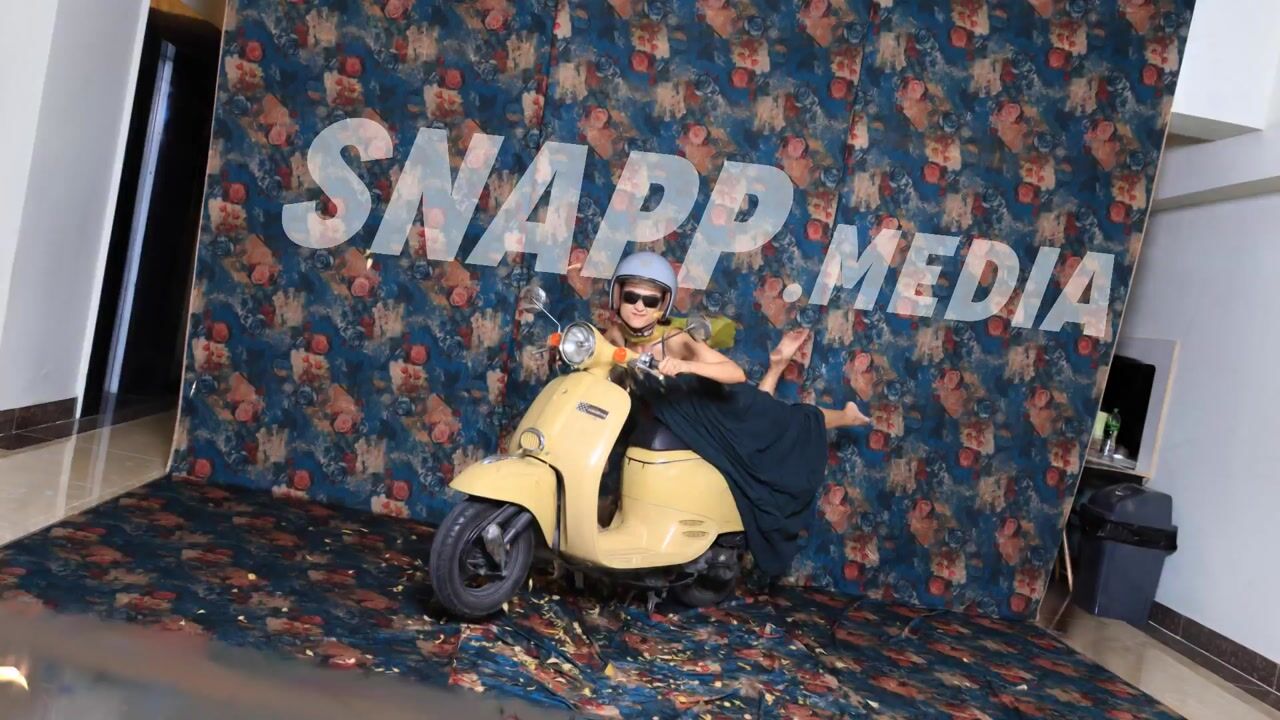
04- Half return whip trio
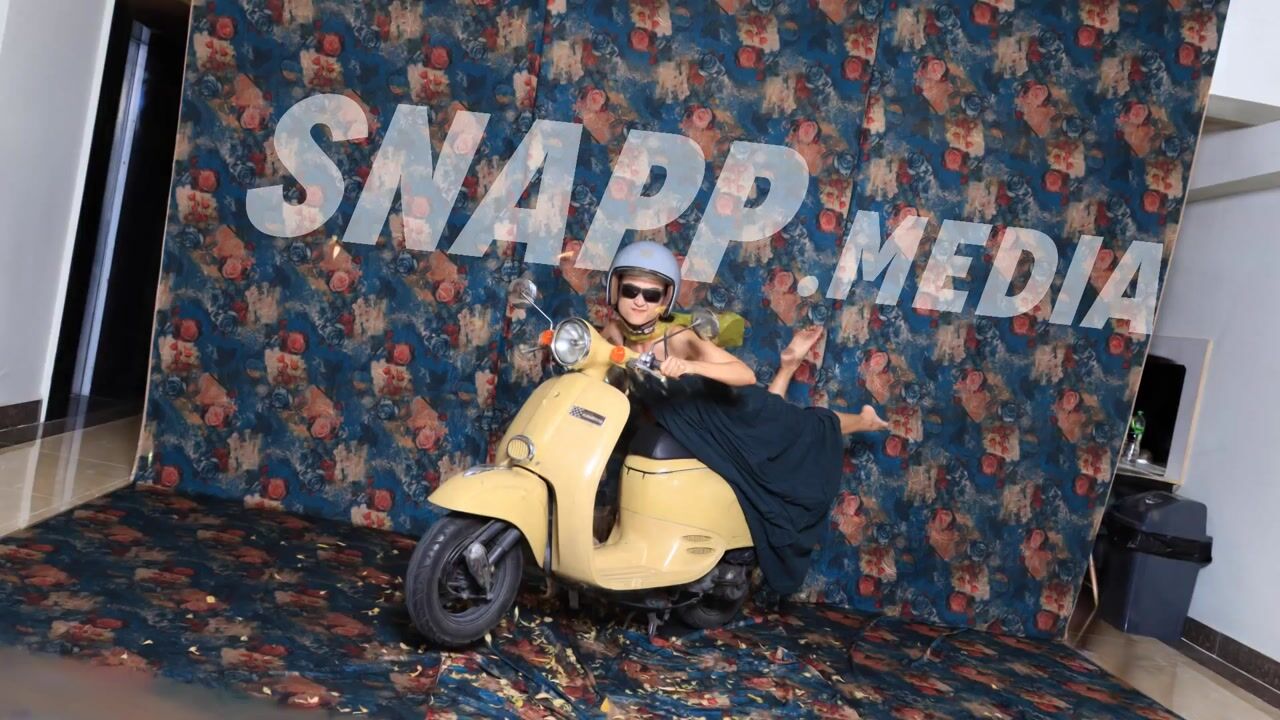
05- Double-bounce
06- Punch-in
Gaussian splat playback is where a finished capture starts to feel directed. The scan is the subject, but the preset is the camera language: how the viewer approaches it, how fast the move hits, where the attention lands, when the motion loops, and whether the final output feels calm, premium, dramatic, or punchy.
Xangle Orbit and Xangle Camera Server include a set of default Splat Player presets to make that process fast. Presets such as xa | bounce, xa | bounce-zoom, xa | double-bounce, xa | half-return-whip, xa | punch-in, and xa | triple-recoil are ready-made examples of common playback styles. They are useful as-is, but they are not meant to be the limit of the system. Treat them as starting points. An operator can build many custom presets by combining keyframes, anchors, travel patterns, accents, offsets, crop settings, layers, and export settings.
The practical idea is simple: load a splat, choose a preset, preview it, then shape the motion until it matches the product, person, booth, campaign, or venue screen in front of you. Once the motion works, save it as a reusable preset so the next dataset can start from the same look.
What a playback preset does
A Splat Player preset is more than an animation label. It stores the choices that define how a Gaussian splat should be presented and exported.
At the playback level, a preset can store the motion mode, timeline duration, frame rate, aspect ratio, number of keyframes, travel pattern, accent type, path interpolation, orbit behavior, and global camera offsets. At the keyframe level, it stores the anchor selected for each keyframe and the camera offsets applied at that moment. In the wider Splat Player workflow, the same preset can also carry export settings, crop configuration, crop overlay choices, camera overlay choices, custom virtual anchors, and layer state.
This is what makes presets useful for operators. You are not only saving a camera path. You are saving a repeatable presentation recipe.
For example, one preset might be a vertical social clip with a fast push in, a tight focal setting, a short duration, and a crop that hides the capture floor. Another might be a slower 16:9 hero loop with a smooth orbit and a clean final frame. A third might be a demo-screen preset with visible camera markers, a wider crop, and a lower render cost for fast review.
Where the default presets fit
The default presets are there to give you useful motion patterns immediately. They also teach the main ingredients of the system.
xa | bounce is the simplest baseline. It moves from one side of the dataset to another and returns, giving the subject a quick back-and-forth reveal. It is useful when you want motion without designing a full path from scratch.
xa | bounce-zoom adds lens energy to that idea. The camera still bounces through the subject, but focal changes create a stronger push-pull feeling. Use it when the result should feel more like a social clip or product reveal than a calm inspection view.
xa | double-bounce uses paired movement. Instead of treating every keyframe as one continuous timeline, it groups keyframes into independent pairs and repeats the A/B movement inside each pair. This makes the playback feel like a set of short bursts rather than one long glide.
xa | half-return-whip is a sharper paired-bounce style. It moves quickly toward the target, then returns only part of the way. That partial return keeps the energy moving forward without fully resetting the camera to the starting pose.
xa | punch-in is a useful starting point for direct emphasis. It is built around a strong move toward the subject, often with focal and dolly changes that make the important detail feel closer and more intentional.
xa | triple-recoil combines paired bounce behavior with a wide triple-bounce accent. It is designed for a high-energy recoil effect: hit the subject, repeat the impact visually, then move on. It is the kind of preset you reach for when the motion needs to feel edited, rhythmic, or attention-grabbing.
These presets are defaults, not locked templates. Duplicate them, rename them, change the anchors, change the aspect ratio, adjust the timing, add or remove keyframes, save the result at the right level, and build your own library.
The operator mental model
The easiest way to understand the Splat Player is to separate five ideas.
First, the preset is the saved recipe. It remembers the playback, keyframe, output, crop, and presentation choices.
Second, anchors are camera references. A keyframe does not float in empty space. It points to an anchor and then applies offsets from that anchor.
Third, keyframes are the editable beats of the camera move. Each keyframe says, in effect, "be here, look this way, use this lens feel, and take this much time to reach the next beat."
Fourth, the travel pattern decides how the keyframes are consumed. A continuous pattern makes one full timeline. A paired pattern treats every two keyframes as their own independent shot.
Fifth, accents add generated movement inside the pattern. An accent can create a half return or a rapid triple bounce without forcing the operator to manually add every tiny recoil frame as a separate keyframe.
Once those ideas click, custom presets become much easier to build. You are not drawing every frame. You are setting strong beats, choosing how those beats connect, and letting the playback system generate the in-between frames.
Anchors: where the motion starts
Anchors are the foundation of a reliable preset. They define the real camera views that keyframes can attach to.
Original camera anchors come from the dataset. These are the actual camera positions from the capture or alignment. They are useful when you want a path that follows the physical capture rig, such as moving from Camera 1 to Camera 40 on an arc, or from one side of a 360 rig to the opposite side.
Calculated anchors are generated helper views. The common ones are first, middle, and last. These are useful for portable presets because they adapt to many datasets. A preset that uses middle is usually easier to reuse across different captures than one that depends on a specific original camera number.
Custom anchors are virtual cameras created by the operator from the current viewer position. If you navigate the splat to a perfect view and create an anchor from it, that view can become part of the preset. This is the best tool for art-directed moves where the exact framing matters more than the original capture camera locations.
Good anchor choices make presets travel better. If a preset should work across many datasets, start with calculated anchors and mild offsets. If a preset is designed for one specific hero asset, use custom anchors freely. If a preset should respect the capture rig, use original cameras.
Keyframes: the beats of the move
Keyframes are where the operator shapes the motion. Each keyframe stores an anchor, a camera snapshot fallback, offsets, duration, easing, and mode-specific settings.
The most important keyframe controls are:
- Anchor: the reference camera for that keyframe.
- Dolly: push toward or pull away from the subject along the look direction.
- Focal: widen or tighten the lens feel.
100%is neutral, higher values feel tighter, lower values feel wider. - Crane: move the camera up or down from the anchor.
- Pan: turn the view left or right without moving the camera position.
- Orbit: rotate the camera around the subject from the anchor.
- Tilt: angle the view up or down.
- Roll: tilt the horizon.
- Duration or Pair duration: decide how much of the total timeline this keyframe or pair consumes.
- Easing: decide how the camera accelerates or settles into the next beat.
- Path: choose whether a path segment inherits the default path style, moves smoothly, or moves directly.
- Arc: in orbit mode, choose how the orbit angle should resolve.
- Attack: add a beginning or ending hit on a segment when a harder visual transition is useful.
Operators can copy and paste keyframe properties, reset offsets, add keyframes, delete keyframes, and use undo or redo while tuning. In continuous playback, the first keyframe can also be synced to the last keyframe so the loop returns cleanly. In paired playback, that sync is disabled because the first and last keyframes may belong to unrelated pairs.
Path mode and orbit mode
Playback can be built in Path mode or Orbit mode.
Path mode moves through anchored camera positions. It is ideal when each keyframe should be tied to a different viewpoint, such as first camera, middle camera, last camera, or several custom views around a product. Path mode gives the operator direct control over where the camera travels between anchors.
Orbit mode rotates around the scene center. It is ideal when the subject should stay centered while the camera circles it. In orbit mode, the first keyframe defines the starting anchor, and later keyframes use orbit positions to set where the camera should be around the subject.
Use Path mode when the shot is about moving from view to view. Use Orbit mode when the shot is about circling the same subject cleanly.
Continuous and paired travel patterns
The Travel pattern control changes the way keyframes become playback frames.
Continuous is the classic timeline. If the preset has keyframes A, B, C, and D, playback moves A to B to C to D. When the player loops, it wraps from the last generated frame back to the first. This is best for calm loops, inspection-style motion, slow hero rotations, and sequences where every keyframe should connect to the next.
Paired moves treats every two keyframes as a separate shot. A to B plays, then the player makes a hard cut to C to D. There is no generated movement from B to C. This is useful when you want multiple short moves in one preset without smoothing between unrelated positions.
Paired bounce turns each pair into a push and return. A to B to A plays, then C to D to C plays. It feels like a repeated reveal, with each pair acting independently.
Paired double bounce repeats the whole pair movement. A to B to A to B plays, then C to D to C to D plays. Use it when the pair itself should feel energetic and repeated, not only accented.
Paired patterns require an even number of keyframes. The keyframe count control steps by twos in paired mode. Think in pairs: keyframes 1 and 2 are the first shot, 3 and 4 are the second shot, 5 and 6 are the third shot, and so on.
This distinction matters a lot. Continuous motion tries to make a graceful path through the entire list. Paired motion isolates each pair so the operator can build a set of short, sharp moves.
Accents: adding energy without extra manual keyframes
The Accent control adds generated movement inside paired playback.
None keeps the travel pattern clean.
Half return is available for paired bounce. It makes the move strike toward the target and return only part of the way. The result feels like a whip or snapback without fully resetting to the starting position.
Triple bounce adds a quick lateral pulse around the selected accent point. It is a controlled way to create a repeated hit without manually adding left, center, right, center, left, center keyframes.
Triple bounce wide uses the same idea with a larger motion. It is useful when the playback needs a more obvious recoil, like the default xa | triple-recoil preset.
When a triple-bounce accent is active, Accent timing controls where that pulse lands. Middle places the accent around the B turnaround inside a pair. End places it at the actual end of the pair. The difference is subtle on paper but very visible in motion. Middle timing feels like a hit on the destination. End timing feels like a final shake before the next cut or loop.
Global offsets: changing the whole preset at once
Global offsets apply on top of every keyframe. They are one of the fastest ways to adapt a preset to a dataset without rebuilding the keyframes.
If a preset is consistently too far away, increase global dolly. If it feels too tight, reduce global dolly or focal. If every view sits too low, adjust global crane. If the whole move needs a little more angle, use global pan, orbit, tilt, or roll.
Use global offsets for broad correction. Use per-keyframe offsets for shot design.
That division keeps presets easier to maintain. A base preset can keep its keyframe personality, while global offsets adapt it to a taller subject, a wider object, a different crop, or a venue screen with a different composition.
Playback settings that affect every output
The Playback panel includes several settings that define the practical output of the preset.
Duration controls the total time of the move. Short durations make the preset feel like a social clip or quick reveal. Longer durations feel more premium, calmer, and more suitable for inspection or display loops.
FPS controls preview and render frame rate. 24 fps gives a cinematic feel and keeps frame counts lower. 30 fps is a common general-purpose option. 60 fps can feel very smooth but creates more frames.
Ratio controls the output shape. Choose this early. A move that looks good in 16:9 may need different focal and crop choices in 9:16 or 1:1.
Keyframes controls how many editable beats are in the preset. Continuous presets can use any count from 2 to 12. Paired presets use even counts because every two keyframes form one shot.
Curvature affects Path mode. Higher curvature can keep the camera from cutting too close through the subject when the path bends between anchors. Lower curvature is more direct.
Default path sets the default interpolation for keyframes that inherit the preset default. Smooth paths feel guided and polished. Direct paths feel snappier and more mechanical.
Orbit arc affects Orbit mode. Shortest keeps orbit transitions compact. Raw preserves the operator's angle intent, which is useful when you want a larger spin instead of the nearest turn.
Preset levels: app, folder, and dataset
Presets can live at different levels. Choosing the right level keeps the library organized.
App presets are available across the app install. Use this level for your studio defaults, brand looks, standard social formats, and presets you expect to use often.
Folder presets live at the active datasets root. Use this level for a campaign, event, venue, booth, or job folder where many datasets should share the same looks.
Dataset presets live with one specific dataset. Use this level for custom hero shots, one-off client review moves, and presets that depend on custom anchors or a specific crop.
Changing the level saves a copy at the target level and selects that copy. It does not need to erase the source. This makes it safe to promote a dataset-specific look to a folder or app preset when it proves useful.
As an operator rule: app for standards, folder for jobs, dataset for one-offs.
Getting started from a default preset
The fastest workflow is to start with a default preset and duplicate it.
- Open the dataset in the Splat Player.
- Open the Presets panel.
- Choose one of the default presets, such as
xa | bounce,xa | bounce-zoom, orxa | triple-recoil. - Press play and watch the motion all the way through at least twice.
- Duplicate the preset before making job-specific changes.
- Rename the duplicate with a practical operator name, such as
Product vertical punch,Client hero loop, orEvent screen bounce. - Set the level: app, folder, or dataset.
- Choose the output ratio in the Playback panel.
- Adjust global offsets to get the whole preset roughly framed.
- Tune keyframe anchors and per-keyframe offsets.
- Preview again, then adjust duration, easing, travel pattern, and accents.
- Check crop, overlays, layers, and export settings.
- Let auto-save store the preset, or save manually if auto-save is off.
This workflow keeps the factory defaults clean and builds a library around real operator usage.
Building a custom preset from scratch
Starting from scratch is also straightforward once you think in beats.
Begin by deciding what the viewer should feel. Is this a slow product hero? A quick social reveal? A technical inspection pass? A dramatic recoil? The answer determines the mode, duration, ratio, and travel pattern.
For a calm loop, choose Continuous, use 3 to 5 keyframes, keep easing smooth, and consider syncing the first and last keyframes. Use calculated anchors like first, middle, and last, then use mild dolly and focal changes to avoid a static feel.
For a punchy social preset, choose a short duration, often 2 to 4 seconds. Use 9:16 or 1:1 early. Try paired moves, paired bounce, or paired double bounce. Add triple bounce or triple bounce wide only after the main pair motion works. Keep focal changes intentional because high focal values can make motion feel much more aggressive.
For a product inspection preset, keep the motion slower. Use Path mode if you need to move between exact views. Use Orbit mode if the product should stay centered. Avoid heavy roll unless the brand style calls for it. Use crop and global offsets to keep the subject stable.
For a one-off hero shot, navigate the viewer to the exact angles you like and create custom anchors from those views. Then use those custom anchors as keyframe references. Save the preset at the dataset level if it depends on those custom positions.
A practical recipe: custom bounce preset
To build a custom bounce preset, start from xa | bounce or create a new continuous preset with three keyframes.
Set keyframe 1 to a left or first-side anchor. Set keyframe 2 to a right or last-side anchor. Set keyframe 3 back to the first anchor, or use the Sync toggle if the preset should loop cleanly. Keep Duration short, around 2 to 4 seconds, and use Smooth easing for a friendly reveal.
Use global dolly to place the whole move at the right distance. Then use per-keyframe focal offsets to make the middle of the bounce feel tighter or wider. If the move feels too flat, add a small crane or orbit offset on the middle keyframe. If it feels too busy, remove roll and reduce focal changes.
Save the result as an app preset if it is a general house style. Save it as a folder preset if it belongs to one event or client setup.
A practical recipe: bounce-zoom preset
A bounce-zoom preset is about changing distance and lens feel together.
Start with xa | bounce-zoom. Duplicate it. Choose the target ratio first. Then preview the motion and look for the point where the subject feels most exciting. That is usually the keyframe where focal should be strongest.
Increase focal to make the subject feel tighter and more compressed. Reduce focal to reveal more of the splat and make the motion feel wider. Combine focal changes with dolly carefully. Too much of both can make the viewer feel like the camera is crashing into the subject.
This style works well for products, vehicles, fashion poses, booth captures, and anything where the operator wants an obvious reveal without a long orbit.
A practical recipe: paired triple-recoil preset
For a triple-recoil style, start from xa | triple-recoil or create a paired preset.
Set Travel pattern to Paired bounce. Use an even keyframe count, commonly 4 or 6. Each pair should have a clear start and hit point. Add Triple bounce wide as the Accent, then choose End or Middle timing depending on where you want the recoil.
Use Middle timing when the hit should happen at the destination before the pair returns. Use End timing when the recoil should happen after the return. Keep the total duration short enough for energy but long enough that the viewer can understand the subject.
The key to this preset is restraint. Build the pair motion first, with no accent. When the start and hit points are strong, add the triple bounce. If the accent hides the subject, reduce focal, reduce roll, or switch from Triple bounce wide to Triple bounce.
A practical recipe: orbit hero preset
For a slow hero orbit, start with a new preset or duplicate a calmer default.
Set Mode to Orbit. Choose a strong starting anchor, usually a calculated middle view or a custom anchor created from the viewer. Set 2 to 4 keyframes. Use orbit positions to rotate around the subject. Keep duration longer, often 6 to 12 seconds, and use a 16:9 ratio for screens or a vertical ratio for social output.
Use Dolly to set the distance, Crane to set height, and Tilt to keep attention on the subject. Use Roll sparingly. If the orbit moves the long way around when you expected a shorter move, check Orbit arc. If the subject drifts off center, check crop and scene center behavior before overcorrecting every keyframe.
Save slow hero orbits as app presets only when they use portable anchors. Save them as dataset presets when they depend on custom anchors.
Preview, scrub, and refine
The Splat Player preview is meant to be used while you tune. Press play to watch the full move. Use the scrubber to inspect exact moments. Select a keyframe in the timeline to jump the viewer to that beat. Adjust a slider, then preview again.
Do not judge a preset only from a still frame. A good still can produce awkward motion if the timing is wrong. A rough still can become excellent once easing, duration, and focal changes work together. Watch the start, the hit point, the return or cut, and the loop.
For loops, watch the transition from the last frame back to the first. If it jumps in a bad way, use Continuous mode with Sync, adjust the last keyframe manually, or design the loop so the cut feels intentional. For paired presets, expect hard cuts between pairs. That is part of the pattern.
Crop, overlays, layers, and export
Playback presets are strongest when the camera move and the final output settings agree.
Crop settings can hide unwanted parts of the splat, focus attention, or create a clean boundary for a finished render. If a preset is meant for a specific product category, save crop settings with it. If the crop is very dataset-specific, keep the preset at dataset level.
Crop overlays can be used for review, technical presentation, or stylized outputs. If the overlay should appear in the final render, make sure the render baking choice matches the intended output.
Camera overlays can help explain the rig or make a technical demo easier to understand. They are useful for operator review, client education, and behind-the-scenes visuals. Turn them off for clean guest-facing outputs unless the overlay is part of the creative direction.
Layers let the preset carry visibility, ordering, and effect choices for built-in and imported presentation elements. Use them when a render needs a consistent look across datasets, such as a branded overlay, a reference layer, or a stylized splat effect.
Export settings decide how the preset leaves the app. Choose MP4 for playback clips, JPG or PNG when still outputs are needed, and set the long edge, bitrate, quality, and render mode based on where the file will be used. A preview station, a client review, and a final deliverable may need different export presets even when the camera move is similar.
Choosing the right preset level for real jobs
Here are practical examples of preset level choices.
Use an app-level preset for Standard 9:16 bounce, Clean 16:9 hero orbit, Fast preview render, or Technical camera overlay. These are house tools.
Use a folder-level preset for Holiday campaign vertical, Museum kiosk loop, Client A product crop, or Event screen version. These belong to a job or active dataset root.
Use a dataset-level preset for Blue shoe macro hero, Car interior detail, VIP guest selected view, or One-off client revision. These depend on one asset.
This habit prevents the preset dropdown from becoming a pile of unclear names. It also makes it easier for another operator to understand which presets are safe to reuse.
Naming custom presets
Good names are operational, not poetic. A useful preset name tells the next operator what the preset is for.
Include the output shape if it matters: 9x16, 1x1, 16x9. Include the motion if it matters: bounce, orbit, recoil, punch. Include the job or use case when the preset is not general: kiosk, review, hero, social, client.
Examples:
9x16 product punch16x9 calm orbitdataset hero recoilfolder kiosk loopclient review crop
Avoid names like test, new preset, or good one once a preset is likely to survive the session. Those names become confusing very quickly during live operation.
Common operator mistakes
The first common mistake is changing a default preset directly instead of duplicating it. Duplicate first, then tune the copy.
The second is choosing the ratio too late. Ratio affects framing, focal feel, crop, and perceived speed. Pick it early.
The third is using too many strong offsets at once. Dolly, focal, roll, and orbit can all add energy. If all of them are high, the result may become hard to watch. Tune one major feeling at a time.
The fourth is using paired patterns when the operator expects a continuous glide. Paired patterns make hard cuts between pairs by design. If you want one smooth move through all keyframes, use Continuous.
The fifth is saving a custom-anchor preset at the wrong level. If the preset depends on exact custom anchors for one dataset, save it at dataset level. Promote it later only if it becomes portable.
The sixth is ignoring the final render settings. A preset can look right in preview but still need a different long edge, bitrate, quality setting, or render mode for delivery.
Troubleshooting preset behavior
If a preset looks different on another dataset, check the anchors first. Original camera anchors depend on the dataset's camera order and layout. Calculated anchors are more portable. Custom anchors are often dataset-specific.
If the loop jumps, check whether the preset is Continuous or paired. In Continuous mode, try syncing the first and last keyframes or manually matching the last keyframe to the first. In paired mode, hard cuts are expected between pairs.
If an accent feels too chaotic, preview the same preset with Accent set to None. If the base movement works, switch to Triple bounce instead of Triple bounce wide, reduce focal, or lengthen duration.
If the subject is framed poorly across the whole preset, adjust global offsets before editing every keyframe. If only one moment is wrong, edit that keyframe.
If a paired preset does not allow an odd keyframe count, that is expected. Paired movement works in twos.
If a preset should be available for another dataset but is missing, check its level. Dataset-level presets stay with one dataset. Folder-level presets stay with the dataset root. App-level presets are the broad reusable library.
A good first-day practice plan
For a new operator, the best way to learn is to make three presets from defaults.
First, duplicate xa | bounce and make a clean loop. Change the ratio, tune global dolly, adjust the middle keyframe focal, and save it as an app-level preset.
Second, duplicate xa | punch-in and make a vertical social version. Set the ratio to 9:16, shorten or lengthen duration until the hit feels right, adjust crop, and save it as a folder-level preset for the current job.
Third, duplicate xa | triple-recoil and make a dataset-specific hero move. Create one or two custom anchors from the viewer, assign them to keyframes, tune the recoil, and save it at dataset level.
After those three exercises, the operator has touched the most important concepts: defaults, duplication, levels, ratio, global offsets, keyframes, anchors, paired motion, accents, crop, preview, and saving.
The bigger point
The default presets are examples of what Xangle Orbit and Xangle Camera Server can do out of the box. They are also a vocabulary. Bounce, bounce-zoom, punch-in, double-bounce, half-return-whip, and triple-recoil show different ways to direct attention through a Gaussian splat.
The real power comes when operators start treating presets as reusable camera direction. A preset can be calm or aggressive, technical or polished, wide or tight, screen-ready or social-ready. It can be generic enough to work across a whole app install, focused enough for one campaign folder, or custom enough to belong to a single hero dataset.
Start with the base presets. Duplicate them. Change one thing at a time. Use anchors to choose the important views. Use keyframes to define the beats. Use travel patterns to decide whether the move is continuous or made of independent shots. Use accents when the motion needs extra energy. Save the result at the right level.
That is how playback presets become an operator tool instead of a fixed menu of canned moves.